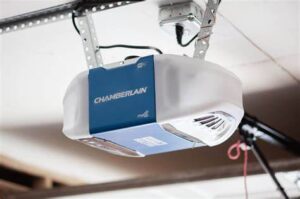
Keeping your LiftMaster garage door opener working smoothly is essential for your home’s safety and convenience. Power outages, dead batteries, or programming glitches can cause problems. Knowing how to reset your LiftMaster garage door opener can be a quick and easy fix. This can solve issues like the door moving independently, the remote not working, or the door not closing.
If your garage door starts acting up, don’t stress. A quick reset might be all you need. And if that doesn’t work, you can always call a garage door repair expert. Keeping your garage door opener in good shape is key to keeping your home safe and convenient. Learning how to reset your LiftMaster garage door opener is a valuable skill that can save you time and trouble.
Regular maintenance and a quick reset can keep your LiftMaster running smoothly. If problems keep happening, garage door repair services are always ready to help. Knowing how to reset your LiftMaster garage door opener can make a big difference in keeping your home safe and efficient.
Preparing for the Reset Process
Before resetting your LiftMaster garage door opener, gathering all the necessary tools and information is essential. Being prepared makes the process smoother and ensures everything goes as planned. Here’s what you’ll need:
Your LiftMaster garage door opener model number
This can be found in your user manual or on the unit itself. Knowing your model number helps you find the proper instructions and troubleshoot any issues that might come up.
A step stool or ladder
If the reset button is in a hard-to-reach spot, a step stool or ladder will help you access it safely. Make sure whatever you use is stable and in good condition to avoid accidents.
A pen and paper
Keep these handy to jot down important information or steps when resetting. This can be useful if you need to remember specific instructions or if you run into problems and must explain what you’ve done to a professional.
Step 1: Find the Reset Button on Your LiftMaster Opener
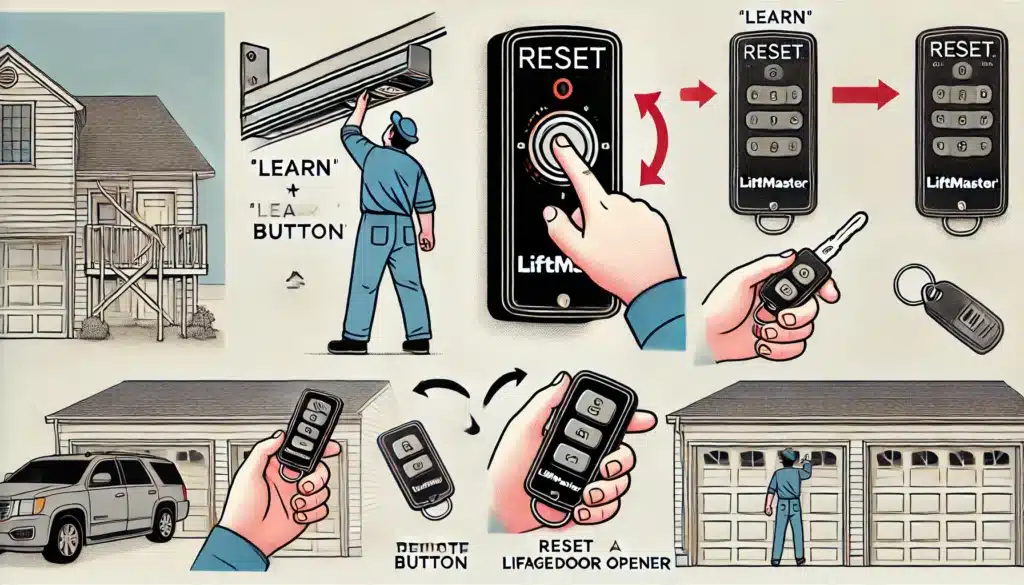
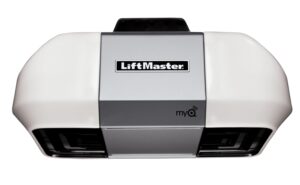
The first step in resetting your LiftMaster garage door opener is to find the reset button. It’s usually located on the back or side of the unit, but the exact spot can vary depending on your LiftMaster model. Check your user manual or visit the manufacturer’s website for guidance on how to find it. If you can’t locate the button, use a step stool or ladder to examine the top or back of the unit.
Look carefully, as the reset button might be hidden or recessed. Finding and using the reset button properly ensures your garage door opener works correctly. If you encounter difficulties, don’t hesitate to contact a trusted garage door repair service for assistance. Regular maintenance and expert help is essential for keeping your LiftMaster garage door opener in excellent condition and ensuring smooth and reliable operation.
Step 2: Press and Hold the Reset Button Firmly
Once you have identified the reset button, press and hold it for the specified duration, the recommended time can vary depending on your LiftMaster model, so refer to your user manual or the manufacturer’s instructions for accurate details. Generally, you must press and hold the reset button for 3 to 6 seconds.
During this time, the garage door opener’s LED lights may flash or change color, indicating that the reset process is underway. Properly resetting your LiftMaster garage door opener ensures it functions correctly. For any issues or professional garage door repair services, consult a reliable garage door contractor to keep your system in optimal condition.
Step 3: Test the Reset by Operating the Garage Door Opener
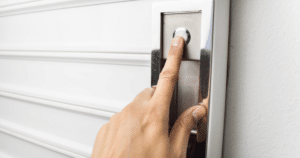
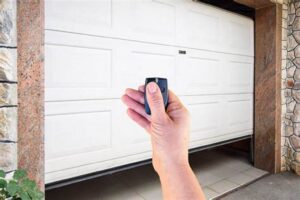
After releasing the reset button, it’s essential to test the functionality of your LiftMaster garage door opener. Use the wall-mounted control panel, remote control, or keypad (if applicable) to ensure the reset was successful. Watch the door’s movement and listen for any strange sounds or pauses.
If the door opens and closes smoothly without issues, the reset process has been completed successfully. Regular testing and maintenance of your LiftMaster garage door opener can prevent future problems and ensure reliable performance. Consult a professional garage door contractor for expert assistance with garage door repair and maintenance.
Troubleshooting LiftMaster Reset Issues
Sometimes, you may encounter difficulties or unexpected results during the reset process. Here are some common problems and possible solutions:
The reset button is not responding
If the reset button does not seem to be registering your input, try the following:
- Ensure that you press the button firmly and hold it down for the recommended duration.
- Check the button for any physical damage or obstruction that may prevent it from functioning correctly.
- Consult your Liftmaster user manual or contact the manufacturer for further assistance.
The garage door opener did not respond after the reset
If the garage door opener does not respond as expected after the reset, try the following:
- Verify that the reset button was held down for the correct time.
- Check the power supply to the garage door opener and ensure it receives electricity.
- Refer to your user manual for additional troubleshooting steps for your Liftmaster model.
The remote control is not working after the reset
If your remote control malfunctions, you may need to reprogram it to the new garage door opener. Consult your user manual for the specific steps to pair the remote control with the newly reset garage door opener.
LiftMaster Garage Door Opener Maintenance Tips
Resetting your Liftmaster garage door opener is just one aspect of maintaining optimal performance. Here are some additional tips to keep your garage door opener in top condition:
Regular Inspections
Regularly inspect your garage door opener to keep it in top condition. Look for any signs of wear or damage, like loose screws or bolts, frayed wires, or cracked parts. Identifying these issues early can help avoid more significant garage door repair problems.
Lubrication
Ensure that the moving parts of your garage door opener are lubricated regularly. Apply a small amount of lubricant to the chain, pulleys, and hinges. This helps everything move smoothly and reduces the wear and tear on your garage door opener, making your garage door repair less frequent.
Battery Replacement
To keep your garage door opener working reliably, regularly replace the batteries in your remote control and keypad (if applicable). This ensures that your garage door repair will be minimal and your opener will always respond when needed.
Software Updates
Check the Liftmaster website or contact the manufacturer to see if any software updates are available for your garage door opener model. These updates can fix known issues or improve functionality, reducing the need for future garage door repair.
Benefits of Resetting Your Garage Door Opener
Regularly resetting your Liftmaster garage door opener can provide several benefits, including:
Improved Performance
Resetting your garage door opener can resolve programming or communication issues that can cause your garage door to malfunction. By addressing these problems, your garage door will operate smoothly and consistently, improving performance and reducing the need for frequent garage door repairs.
Enhanced Security
A properly functioning garage door opener is crucial for maintaining home security and preventing unauthorized access. By resetting the device, you can ensure your garage door closes and locks correctly every time, enhancing your overall garage door security and providing peace of mind.
Increased Safety
Resetting your garage door opener can address safety concerns, such as unexpected door movements or not closing completely. These issues can pose risks to you and your family, so fixing them is essential. Ensuring your garage door operates safely minimizes the need for emergency garage door repairs.
Extended Lifespan
Regular maintenance, including resetting your garage door opener, can significantly extend its lifespan. This ensures that your garage door opener performs reliably for many years and minimizes the need for frequent garage door repairs and replacements.
Frequently Asked Questions
How do I reset a LiftMaster garage opener?
To reset your LiftMaster garage opener, press the “Learn” button on the motor until the light goes off. This clears all previous settings. Now, you can reprogram your remote or keypad for smooth operation.
How do you reprogram a garage door opener LiftMaster?
Hit the “Learn” button on the motor until the light comes on. Quickly press and hold your remote button until the light blinks or clicks. This confirms your opener is reprogrammed and ready to use.
How do you manually reset a garage door?
Pull the emergency release cord to disconnect the opener so you can move the door by hand. To reconnect, just pull the cord back towards the opener. Consider calling a garage door repair service for assistance if it’s tricky.
How do you reset the yellow button on a LiftMaster garage door opener?
Press and hold the yellow “Learn” button until the light goes off to clear all codes. Afterward, reprogram your remotes and keypads. Regular resets help keep your garage door opener functioning correctly.
How to reset LiftMaster garage door sensors?
Ensure the sensors are aligned and clean, then unplug the opener for 10 seconds to reset them. Plug it back in and test the sensors to ensure they’re working. If they still act up, contact a garage door repair professional.
Conclusion
Resetting your LiftMaster garage door opener is a handy skill that can save you a lot of frustration. But if you’re still having trouble, don’t worry – Team Taylor Doors has your back with expert garage door repair Kansas City services. As your trusted garage door contractors, we’re here to make sure everything runs smoothly.
Don’t let a faulty garage door opener mess up your day. Learning to reset a garage door opener LiftMaster can keep things running safely and efficiently. Regular check-ups and quick fixes can go a long way, but it’s time to call the pros if issues keep popping up.
Team Taylor Doors offers reliable garage door repair services to get things back on track quickly. Our friendly and skilled technicians are dedicated to providing top-notch service, ensuring your garage door works perfectly. Whether a simple reset or a more complex repair, you can count on us to handle it all.
So, next time your LiftMaster acts up, remember you have the power to reset it. Team Taylor Doors is just a call away if that doesn’t do the trick. Trust us to keep your garage door in perfect working order so you can enjoy a secure and smoothly functioning home. Let us remove the hassle from garage door problems, ensuring you peace of mind and a well-protected home.
End Note
Regarding garage door repair, Team Taylor Doors is your trusted partner. Whether you need a new garage door opener, insulation, or repair services in Greenwood, MO, our skilled team has you covered. Explore our wide range of services on our website and learn about our garage door openers.
Check out our specialized services here if you need repairs in Greenwood, MO. Get inspired by our past projects in the gallery, and stay informed with our insightful blog. Connect with us on Facebook, Instagram, and our YouTube channel for more updates.
For top-notch garage door insulation, visit our dedicated page here. Team Taylor Doors ensures your garage door needs are met with exceptional service and quality. Trust Team Taylor Doors for all your garage door repair needs and experience the difference dedication and expertise bring to your home. Explore our services and stay connected to ensure your garage doors are always in the best hands.

