Garage door cables are an essential component of your garage door system. They lift and lower the door, ensuring smooth and safe operation. Over time, these cables can become worn, frayed, or even snap, leading to a malfunctioning garage door. Understanding the role of these cables and how to maintain them correctly is crucial for keeping your garage door in top working condition.
Garage door cables are typically made of galvanized steel and are designed to withstand the weight and tension of the garage door. They are attached to the door’s bottom brackets and run through pulleys or rollers, connecting to the torsion springs or extension springs that provide the lifting force. When the cables are in good condition, they allow the door to open and close quickly.
Signs of a Broken Garage Door Cable

Identifying the signs of a broken or damaged garage door cable is the first step in addressing the issue. Here are some common indicators that your garage door cable needs attention:
- The garage door needs to open or close smoothly, and it may appear stuck or unbalanced.
- The door is crooked or uneven when it’s open or closed.
- You hear unusual noises from the garage door mechanism, such as grinding or squeaking.
- The door is not staying open or closed as it should, and it may be closing or opening on its own.
- You notice frayed, worn, or broken strands in the cable.
If you notice any of these signs, it’s essential to address the issue promptly to prevent further damage and ensure the safety of your garage door system.
Safety Precautions Before Fixing the Garage Door Cable
Before attempting to fix your garage door cable, taking the necessary safety precautions is crucial. Garage door springs are under immense tension and can be dangerous if improperly handled. Follow these steps to ensure your safety:
- Disconnect the garage door opener: Unplug the garage door opener or disconnect the power source to prevent the door from moving unexpectedly.
- Secure the door in the open position: Use C-clamps or vice grips to hold the door in the open position, preventing it from closing unexpectedly.
- Wear appropriate personal protective equipment (PPE): such as gloves, safety glasses, and sturdy shoes, to protect yourself from potential hazards.
- Ensure the area is clear: Make sure there are no obstructions or people near the garage door while you’re working on it.
These safety precautions will help you avoid serious injury and ensure a successful repair.
Tools Needed for Fixing the Garage Door Cable
To fix a broken garage door cable, you’ll need the following tools:
- Replacement garage door cable (matching the size and length of your existing cable)
- Winding bars or vice grips
- Pliers or channel locks
- Hammer
- Screwdrivers (flat-head and Phillips)
- Wrench set
- Tape measure
- Safety glasses and gloves
The right tools will make the repair process more accessible and safer.
How to Fix Garage Door Cable
Garage door cables are crucial for adequately functioning your garage door system, as they bear the door’s weight and ensure smooth, balanced movement. Over time, these cables can wear out, fray, or even snap, leading to difficulty operating the door and potential safety hazards. Fixing or replacing garage door cables is an essential maintenance task that can prevent further damage and ensure the longevity of your garage door system. This guide will walk you through the step-by-step process of fixing your garage door cable, ensuring safe and efficient operation.
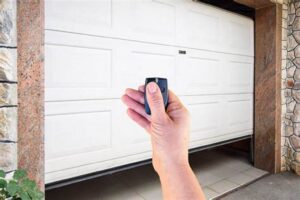
Step 1: Disconnecting the Garage Door Opener
- Unplug the garage door opener or disconnect the power source to the unit.
- Locate the emergency release cord or handle, usually hanging from the opener. Pull the cord to disengage the opener from the door.
- Now, the door should move freely without the opener’s assistance.
Step 2: Releasing Tension from the Garage Door Springs
- Carefully observe the garage door springs and their position. Take note of how the springs are wound; you’ll need to replicate this when reinstalling the new cable.
- Slowly and cautiously release the tension from the springs by using winding bars or vice grips. This is a crucial step, as the springs are under immense pressure and can be dangerous if not handled properly.
- Once the tension is released, the door should be able to move up and down with minimal effort.
Step 3: Removing the Broken Cable
- Locate the broken cable and identify where it is attached to the door and the drum or pulley system.
- Use pliers or channel locks to loosen the cable’s attachment points, allowing you to remove the broken cable entirely.
- Carefully dispose of the broken cable, ensuring it is out of reach of children and pets.
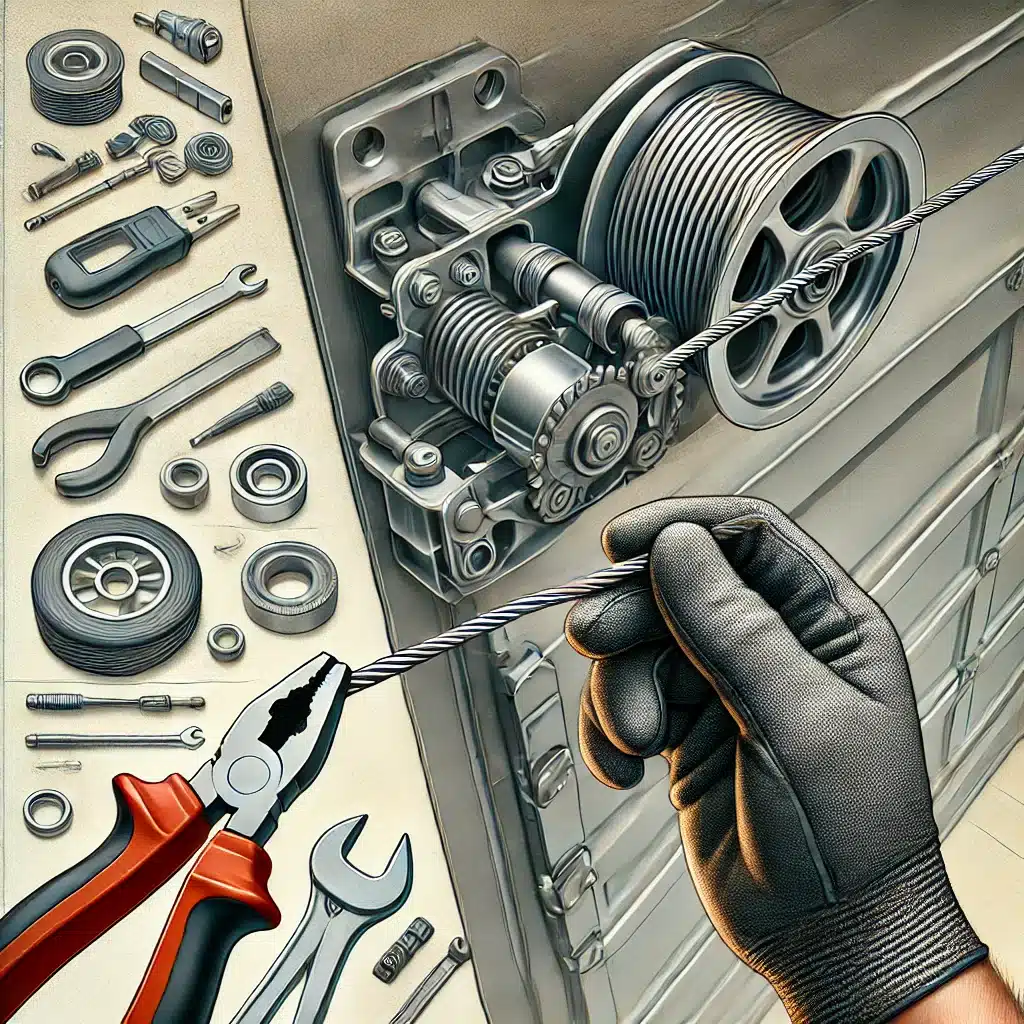
Step 4: Installing the New Cable
- Measure the length of the new cable to ensure it matches the size and length of the original cable.
- Feed the new cable through the pulleys or rollers, following the same path as the previous cable.
- Attach the cable to the door’s bottom bracket, securing it tightly.
- Wrap the cable around the drum or pulley system, ensuring it is properly aligned and not twisted.
- Slowly and carefully rewind the garage door springs, ensuring the cable is in the correct position.
Step 5: Reconnecting the Garage Door Opener
- Reconnect the garage door opener to the door, ensuring the emergency release cord or handle is engaged correctly.
- Plug in the garage door opener or restore power to the unit.
- Test the opener’s functionality using the remote or wall switch to open and close the door.
Step 6: Testing the Garage Door
- Manually open and close the garage door several times to ensure the new cable is installed correctly and the door is balanced.
- Observe the door’s movement, listening for unusual noises or signs of binding.
- If the door does not operate smoothly or appears unbalanced, you may need to adjust the springs or the cable’s tension.
Common Troubleshooting Tips for Garage Door Cables

If you encounter any issues during the repair process or the new garage door is still not functioning correctly, consider the following troubleshooting tips:
- Check the cable’s attachment points: Ensure the cable is securely fastened to the door’s bottom bracket and the drum or pulley system.
- Inspect the cable’s condition: Look for any signs of fraying, wear, or damage that may have been missed during the initial inspection.
- Adjust the spring tension: If the door is not balanced or is still challenging to open and close, you may need to adjust the spring tension.
- Lubricate the moving parts: Apply a small amount of garage door-specific lubricant to the pulleys, rollers, and other moving components to improve the door’s operation.
- Consider replacing additional components: If the cable issue is part of a more significant problem, you may need to replace other parts, such as the springs, pulleys, or rollers, to ensure the long-term reliability of your garage door system.
FAQs
How do you reattach a garage door cable?
First, to reattach a garage door cable, ensure the garage door is fully closed, and the opener is disconnected to prevent accidental operation. Then, locate the cable drum on the side of the door and carefully thread the cable back into its proper position, wrapping it around the drum while ensuring it stays taut and correctly aligned with the pulley system. Finally, secure the cable with the appropriate fasteners, such as cable clamps or bolts, and check the tension to ensure smooth operation before reconnecting the opener.
What happens if a garage door cable breaks?
If a garage door cable breaks, the door can become unbalanced and may not open or close properly, posing a significant safety risk as it could fall suddenly. The broken cable disrupts the tension balance required to lift and lower the door smoothly, causing the door to either get stuck in position or difficult to move. Immediate cable replacement or repair is necessary to restore the door’s functionality and ensure safe operation.
How do you fix a slack in a garage door cable?
To fix a slack in a garage door cable, start by disconnecting the door opener to prevent accidental movements. Next, manually lift the door halfway to release tension and allow for a more straightforward adjustment. Locate the cable drum and tighten it by turning it to take up the slack, ensuring the cable is correctly seated in the grooves, then secure it in place and test the door’s operation to confirm the issue is resolved.
How to open a garage door with a broken cable?
Opening a garage door with a broken cable is challenging and dangerous; however, if necessary, you should ensure the door is disconnected from the opener. Use extreme caution and enlist the help of another person if possible; manually lift the door evenly on both sides to prevent it from binding or getting off track. Secure the door in the open position with clamps or vice grips to prevent it from falling unexpectedly, and contact a professional to repair the cable as soon as possible.
Is it safe to open a garage door with a broken cable?
No, it is not safe to open a garage door with a broken cable because the door can become unbalanced, leading to unpredictable movements and posing a significant risk of injury or further damage. The door relies on the cables to distribute its weight evenly, and without one, the door can fall suddenly or become difficult to control. It is best to avoid using the door until a professional has adequately repaired the cable.
How do I get my garage door to reconnect after pulling the release cord?
To reconnect your garage door after pulling the release cord, first, ensure the door is in the fully closed position. Then, pull the emergency release cord down and toward the opener to reset the mechanism; you should hear a click indicating the trolley is back in place. Finally, activate the garage door opener using the remote or wall button, and the trolley should automatically re-engage with the door, restoring regular operation.
Conclusion
At Team Taylor Doors, we understand that maintaining your garage door cables is vital for ensuring the safety and functionality of your garage door system. Our step-by-step guide on fixing garage door cables is designed to empower you with the knowledge and confidence to tackle this essential maintenance task. Whether your cables are worn, frayed, or snapped, knowing how to address these issues promptly can prevent further damage and ensure the smooth operation of your garage door.
Garage door cables are typically made of galvanized steel, designed to handle the weight and tension required to lift and lower your door. When these cables are in good condition, they work seamlessly with the door’s springs and pulleys, providing effortless operation. However, when they deteriorate, it can lead to severe problems, such as the door becoming unbalanced or stuck, posing potential safety hazards. Regular inspection and timely replacement of these cables can extend the life of your garage door and keep it functioning at its best.
If you encounter any difficulties or prefer professional assistance, Team Taylor Doors is here to help. Our experienced technicians are equipped to handle all your garage door needs, from routine maintenance to emergency garage door repairs. Contact us today to schedule a service appointment and experience the peace of mind of knowing your garage door is in expert hands. Let Team Taylor Doors ensure your garage door system operates safely and efficiently, providing you with the reliability and convenience you deserve.
End Note
Thank you for reading our step-by-step guide on how to fix garage door cables. Team Taylor Doors is committed to providing you with the best resources and services to ensure your garage door operates smoothly and safely. To learn more about our company and our range of services, visit our website and explore our home page.
We offer various services to meet all your garage door needs, from repairs and maintenance to new installations. For flexible payment options, check out our financing page. Stay informed with our latest tips and updates by visiting our blog, and be inspired by the projects we have completed in our gallery.
Discover the areas we serve by visiting our service areas page. Stay connected with us on social media for the latest news and promotions—follow us on Facebook, LinkedIn, Instagram, Twitter, YouTube, and Pinterest.
If you have any questions or need assistance with your garage door, don’t hesitate to contact our expert team at Team Taylor Doors. We are here to help you with all your garage door needs, ensuring top-quality service and customer satisfaction. Thank you for choosing Team Taylor Doors, where your safety and convenience are our top priorities.