Garage door springs play a crucial role in the overall function of your garage door system. They help balance the door’s weight, making it easier to open and close. Over time, these springs can wear out, break, or lose their tension, which can cause your garage door to stop working correctly and may lead to needing garage door repair. Replacing a garage door spring is something you can do yourself, but it’s essential to be careful and have the right tools to ensure you stay safe and that your garage door works well.

In this guide, we’ll show you how to replace a garage door spring quickly without costly repair. Following these steps, you can avoid paying for expensive garage door repair services and fix your door independently. Whether you’re used to DIY projects or just starting this simple method will help you handle the job safely and get your garage door working again in no time. Safety is key when working with garage door springs, so follow each step closely.
Types of Garage Door Springs
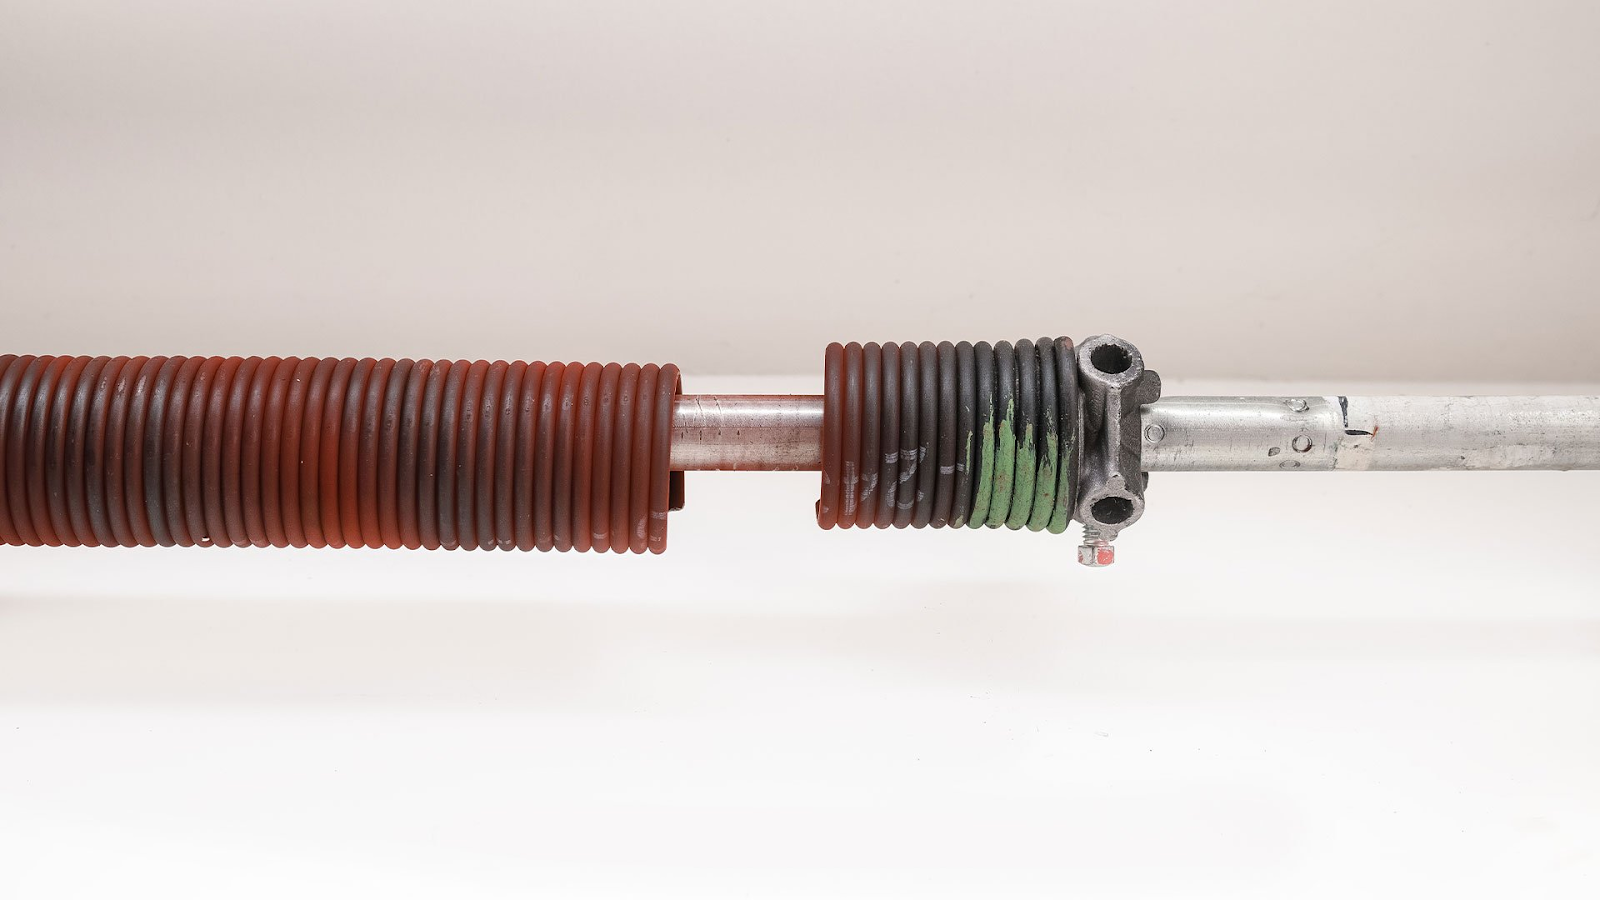
There are two main types of garage door springs: torsion springs and extension springs. Torsion springs are installed above the garage door and work by twisting to help lift and lower the door. These solid and durable springs provide smoother operation, making them popular. Extension springs, however, are placed on each side of the garage door and stretch when the door moves.
While more affordable, they may not last as long as torsion springs. If you’re wondering how to replace a garage door spring, it’s essential first to identify which type your door uses. Each type has a different installation process, and using the wrong one can lead to severe issues with your garage door, which could result in costly garage door repair down the road.
How to Tell If Your Garage Door Spring Needs Replacing
- The door becomes increasingly difficult to open or close
- The door doesn’t stay open or close completely
- You hear creaking or grinding noises when operating the door
- The door appears to be unbalanced or lopsided
- The springs show visible signs of wear, such as rust or cracks
If you notice any of these issues, it’s time to consider replacing the garage door springs.
Safety Tips Before Replacing a Garage Door Spring
Replacing a garage door spring can be risky if not handled properly. Before starting the project, it’s essential to take the following safety precautions:
- Disconnect the garage door opener or any automatic openers to prevent the door from moving unexpectedly.
- Secure the door in the open position using clamps or C-clamps to prevent it from closing.
- Be sure to wear protective gear, such as gloves, safety glasses, and steel-toed boots.
- Ensure that the work area is clear of any obstacles or distractions.
Tools Needed for Replacing a Garage Door Spring
To replace a garage door spring, you’ll need the following tools:
- Winding bars (for torsion springs)
- Pliers or vice grips
- Adjustable wrench
- Socket wrench set
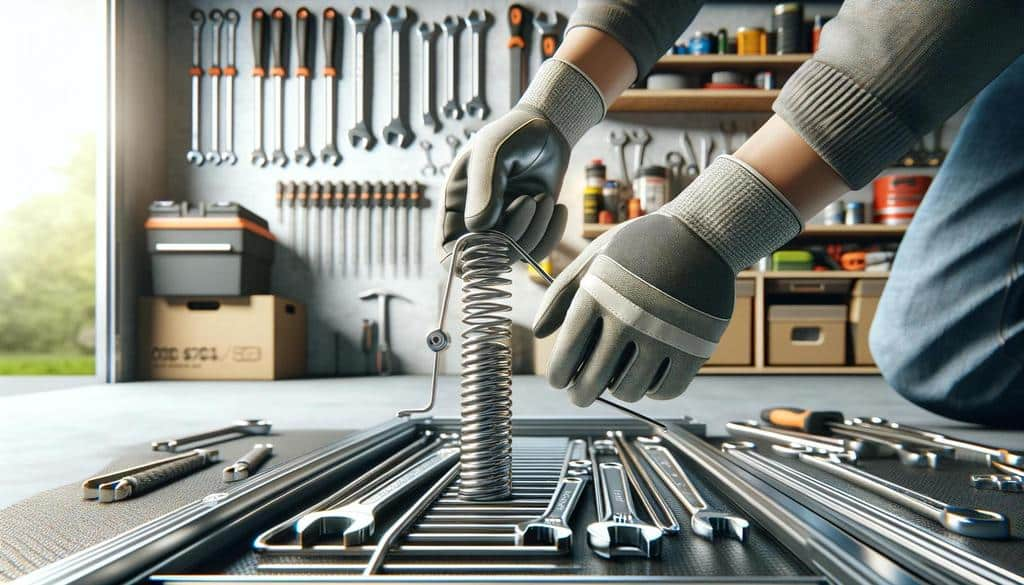
- Hammer
- Pry bar
- Tape measure
- Replacement garage door springs (the correct size and weight for your door)
How to Replace a Garage Door Spring
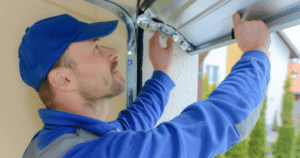
Disconnect the Garage Door Opener
To start, unplug the garage door opener or disconnect the opener’s arm from the door. This ensures the opener won’t accidentally activate while you’re working, preventing the door from moving unexpectedly. Disconnecting the opener is a crucial safety step before replacing any garage door spring.
Secure the Door in the Open Position
Use C-clamps or similar clamps to secure the garage door in the fully open position. This prevents the door from accidentally closing while you’re working on the springs. Ensuring the door stays in place is essential for your safety and keeps the door stable during the entire repair process.
Identify the Spring Type
Examine the garage door to determine whether it uses torsion or extension springs. Knowing the spring type is essential because each type requires different tools and techniques for replacement. Additionally, note the size and weight of the existing springs to purchase the correct replacement springs for your door.
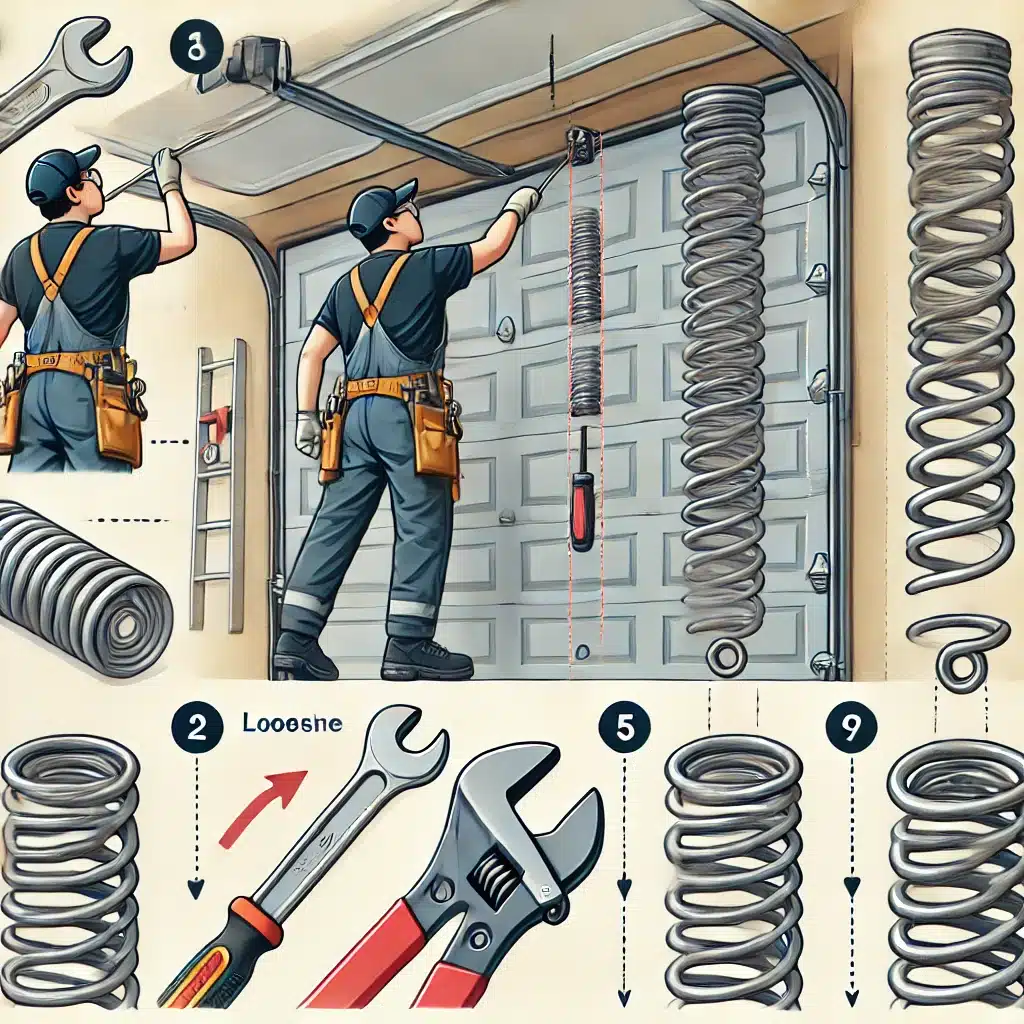
Release the Spring Tension
Carefully release the tension in the springs before removing them. Use winding bars to unwind the springs slowly for torsion springs, reducing the risk of injury. For extension springs, unhook them from the pulleys or door using pliers or vice grips. Properly releasing tension is critical for a safe repair.
Remove the Old Springs
Once the tension is released, carefully remove the old springs from the garage door system. Pay attention to how the springs were initially installed, as this will guide you when installing the new ones. Handling old springs carefully ensures that the door components remain in good condition during removal.
Install the New Springs
Follow the manufacturer’s instructions to install the new springs correctly. Ensure the new springs match the size, weight, and type needed for your garage door. Accurate installation ensures the door operates smoothly and safely, so double-check the specifications before installing.
Adjust the Spring Tension
For torsion springs, use winding bars to adjust the tension to the proper level, ensuring the door opens and closes quickly. For extension springs, adjust the length or pulley position as necessary. Proper spring tension is essential for the garage door to remain balanced and function correctly.
Reconnect the Garage Door Opener
After installing and adjusting the springs, reconnect the garage door opener by attaching its arm to the door. Plug the opener back in, making sure everything is securely connected. This step allows the garage door to resume automatic operation and ensures everything works smoothly.
Test the Door’s Operation
Manually open and close the garage door several times to ensure it’s balanced and operating smoothly. Pay attention to how the door moves—if it feels uneven or heavy, further adjustments may be needed. Testing the door is the final step to confirm the springs are installed and functioning correctly.
Avoid These Mistakes When Replacing Your Garage Door Spring
- Properly securing the door in the open position before working on the springs is necessary.
- Attempting to replace the springs without the proper tools, such as winding bars for torsion springs.
- Incorrectly winding or adjusting the spring tension leads to an imbalanced door.
- Remember to disconnect the garage door opener before starting the project.
- Replacing the springs with the incorrect size or weight can cause further damage to the door.
Tips for Maintaining Your Garage Door Spring
- Regularly inspect the springs for signs of wear, such as rust or cracks.
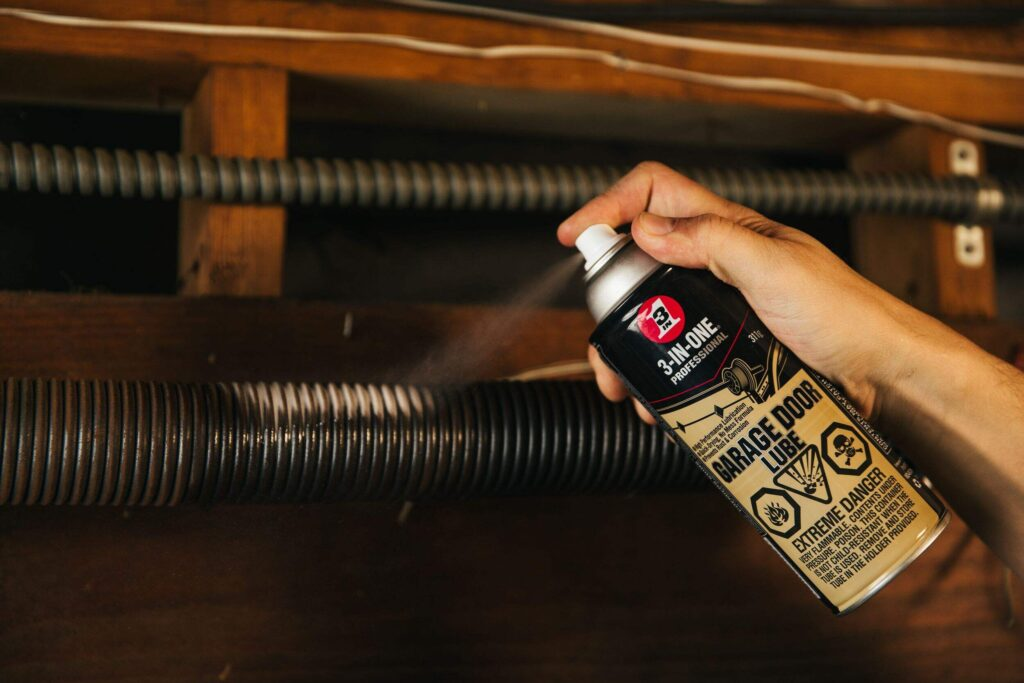
- Lubricate the garage door system’s springs and other moving parts to prevent premature wear.
- Avoid manually opening or closing the door if the springs appear damaged or worn.
- Consider replacing the springs every 7-10 years, even if they appear functioning properly, to prevent unexpected breakdowns.
Hiring a Professional for Garage Door Spring Replacement
Some people replace garage door springs themselves, but knowing when to call a professional is essential. If you’re unsure about the process or feel uncomfortable working with the springs, getting help is safer. Garage door springs can be tricky, especially if you have a heavy or complex garage door system.
Licensed garage door repair technicians have the right tools and knowledge to handle the job correctly. They are equipped with safety gear and have the experience to ensure the replacement is done properly. This expertise helps avoid mistakes that could cost you more time or money in the long run.
Replacing springs without the proper skills can lead to injuries or damage to your garage door. Hiring a professional can ensure the job is done safely, reducing risks and giving you peace of mind.
FAQs: Replacing Your Garage Door Spring Made Easy
Can I replace the garage door spring myself?
You can replace a garage door spring yourself, but it’s not the best idea unless you have done it before. The springs are under a lot of tension, and trying to replace them without experience can lead to injuries. Hiring a professional who can do the job quickly and safely is much safer.
What is the cost of replacing coil springs on a garage door?
The cost to replace coil springs on a garage door usually ranges from $150 to $350, depending on the spring type and where you live. Having the correct springs installed ensures your new garage door operates smoothly, and hiring a professional to install them ensures they last longer and work properly.
Is it safe to replace garage door springs?
Replacing garage door springs yourself is safe if you have experience with it. These springs are tightly wound and can snap, causing severe injuries. For your safety, it’s better to call a professional who knows how to handle them properly and can safely replace them without risking damage or harm.
How long does it take to replace a garage door spring?
A professional can replace a garage door spring in about 1 to 2 hours. This includes removing the damaged spring, installing the new one, and ensuring the door works correctly. If you try to replace it, it could take longer and pose risks without the proper tools and experience.
How to know if garage door springs are wrong?
You’ll know your garage door springs are wrong if the door struggles to open or close, makes loud noises, or feels heavy when lifted manually. You might also see gaps or rust in the springs. These are signs it’s time to replace the springs to keep your door working well.
Conclusion
Fixing your garage door yourself can feel great, especially when you follow a simple guide on replacing garage door springs. However, it’s always best to call professionals if you find the task tricky or have problems. At Team Taylor Doors, we specialize in garage door repair and have the skills to get your door working smoothly again. Don’t risk making the problem worse or hurting yourself—our team is here to help you with quick and reliable solutions.
As your trusted garage door contractor, we offer services that fix the issue and ensure your door operates safely for years. Replacing a garage door spring can be challenging, but with our expert touch, we’ll get the job done quickly and correctly. Whether it’s a spring replacement or any other garage door problem, you can rely on us to handle it carefully and professionally.
Instead of worrying about costly repairs down the road, let us do the hard work for you. Team Taylor Doors is committed to providing top-notch service so you can enjoy a fully functioning garage door without the hassle. Reach out today to keep your garage door in perfect shape!
End Note
If your garage door is causing problems, whether it’s due to a broken spring or another issue, Team Taylor Doors is here to help. We provide fast and reliable service in Mission, Kansas, and surrounding areas, ensuring your garage door works like new. With years of experience, our team can handle all garage door repairs, from minor fixes to major issues, giving you peace of mind that the job will be done right the first time.
If you’re curious about the quality of our work, check out our gallery to see real examples of the garage door repairs and installations we’ve completed for satisfied customers. Our regularly updated blog is packed with helpful tips and valuable advice to help you keep your garage door in great shape for years.
To stay informed about the latest updates, promotions, and garage door maintenance tips, follow Team Taylor Doors on Instagram, Facebook, and YouTube. If you are ready to fix your garage door, head to our website today and contact our friendly team to schedule your repair or ask any questions. Team Taylor Doors is here to ensure your garage door works smoothly again!