In today’s world, convenience and efficiency are paramount, and having a reliable garage door opener can greatly enhance your daily routine. One of the most popular and trusted brands in this domain is Genie, known for its innovative and user-friendly products. If you’ve recently acquired a Genie remote or are considering upgrading your existing system, this comprehensive guide will walk you through the process of programming your Genie remote for your garage door, ensuring a seamless and hassle-free experience.
Imagine the convenience of being able to open and close your garage door with just the press of a button, eliminating the need to manually operate the door or fumble with keys. By following this step-by-step guide, you’ll not only gain control over your garage door but also increase your home’s security and peace of mind.
Whether you’re a tech-savvy individual or new to the world of garage door openers, this guide will provide you with all the necessary information and instructions to program your Genie remote like a pro. So, let’s dive in and explore the art of programming your Genie remote for your garage door.
Understanding The Genie Remote And Its Features
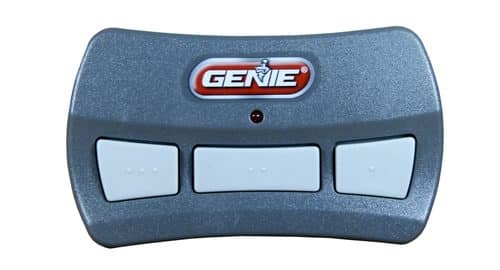
Before we delve into the programming process, it’s essential to understand the Genie remote and its features. The Genie remote is a compact and ergonomic device that allows you to control your garage door opener from a distance. It typically features a few buttons, including an “Open/Close” button, a “Lock” button, and sometimes additional buttons for programming or controlling multiple garage doors.
One of the key advantages of the Genie remote is its compatibility with various Genie garage door openers, ensuring seamless integration with your existing system. Additionally, many Genie remotes offer rolling code technology, which enhances security by generating a new code with each use, preventing potential code theft and unauthorized access.
It’s important to note that different Genie remote models may have slightly different features and functionalities, so it’s advisable to consult your specific remote’s user manual for detailed information and instructions.
Preparing For Programming – Things To Know And Gather
Before you embark on the programming journey, it’s crucial to gather the necessary items and ensure you have the right setup. Here’s what you’ll need:
- Your Genie remote: Make sure you have the remote you want to program handy.
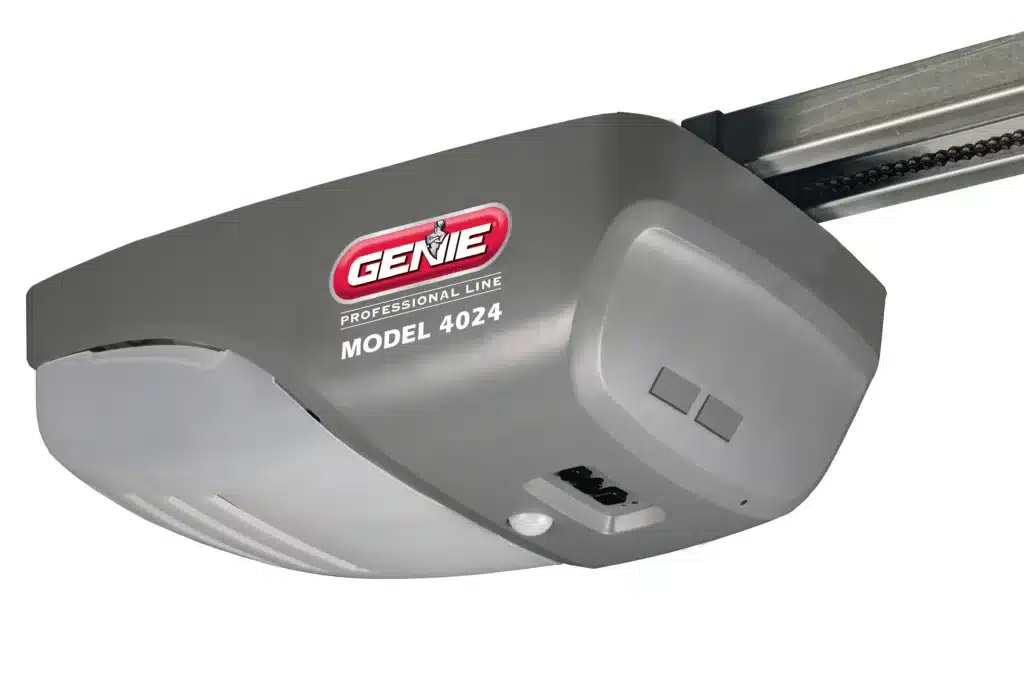
- Garage door opener: Identify the specific model of your Genie garage door opener, as the programming process may vary slightly between models.
- User manual: Locate the user manual for your Genie garage door opener and remote, as it will provide valuable guidance and instructions specific to your devices.
- Ladder or step stool (optional): Depending on the location of your garage door opener, you may need a ladder or step stool to access the “Learn” button comfortably.
- Fresh batteries: Ensure your Genie remote has fresh batteries installed to avoid any interruptions during the programming process.
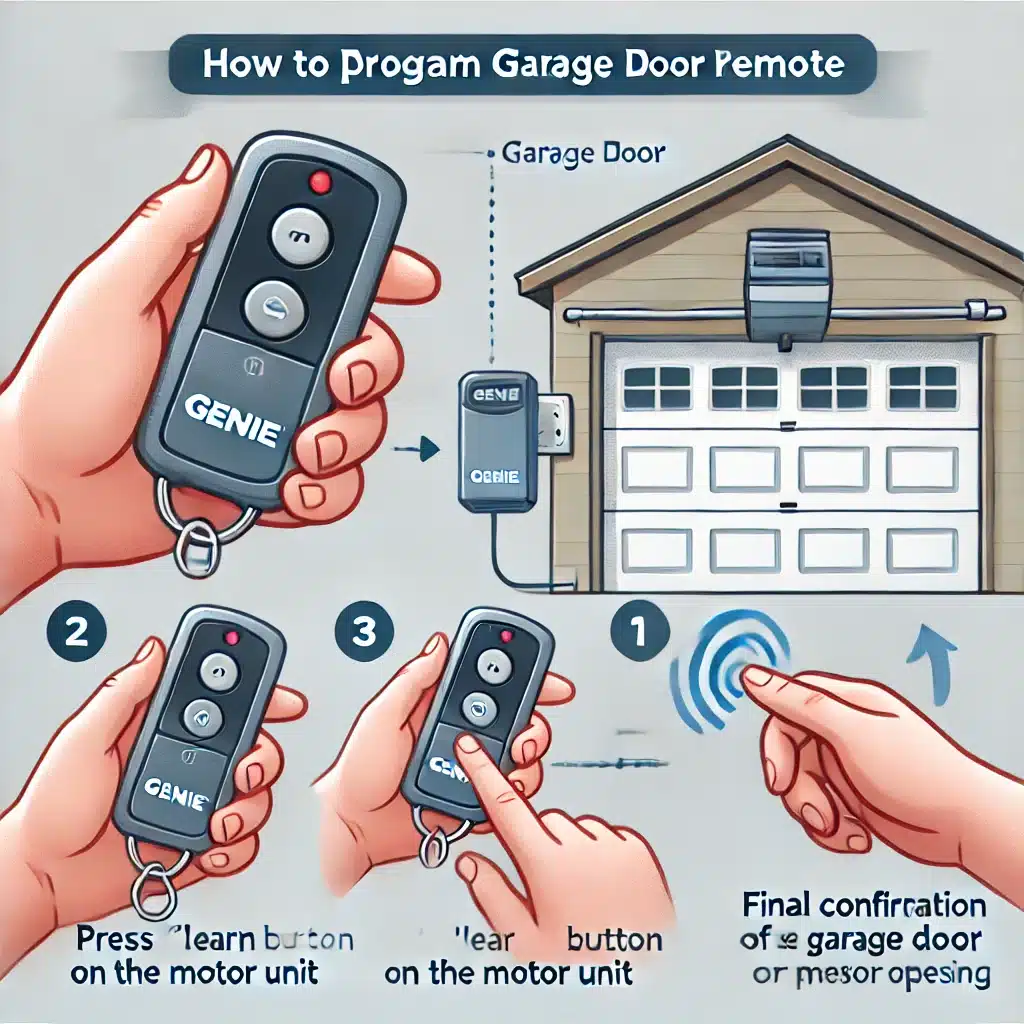
Step 1: Clearing any existing codes on the Genie remote
Before programming your Genie remote, it’s essential to clear any existing codes or settings to ensure a clean slate. This step is crucial if you’ve previously programmed the remote for a different garage door opener or if you’ve encountered issues with the current programming.
To clear the existing codes on your Genie remote, follow these steps:
- Locate the “Program” or “Learn” button on the remote. It may be a small recessed button or a dedicated button labeled accordingly.
- Press and hold the “Program” or “Learn” button until the LED light on the remote begins to flash rapidly, indicating that the remote is ready to be programmed.
- While the LED is flashing, press and release the “Open/Close” button on the remote.
- The LED light should turn off, indicating that the existing codes have been successfully cleared.
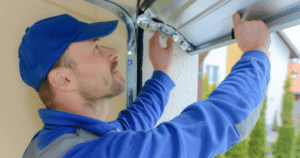
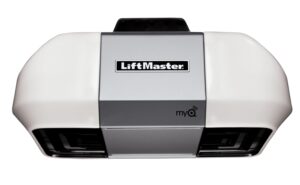
Step 2: Locating the “Learn” button on your garage door opener
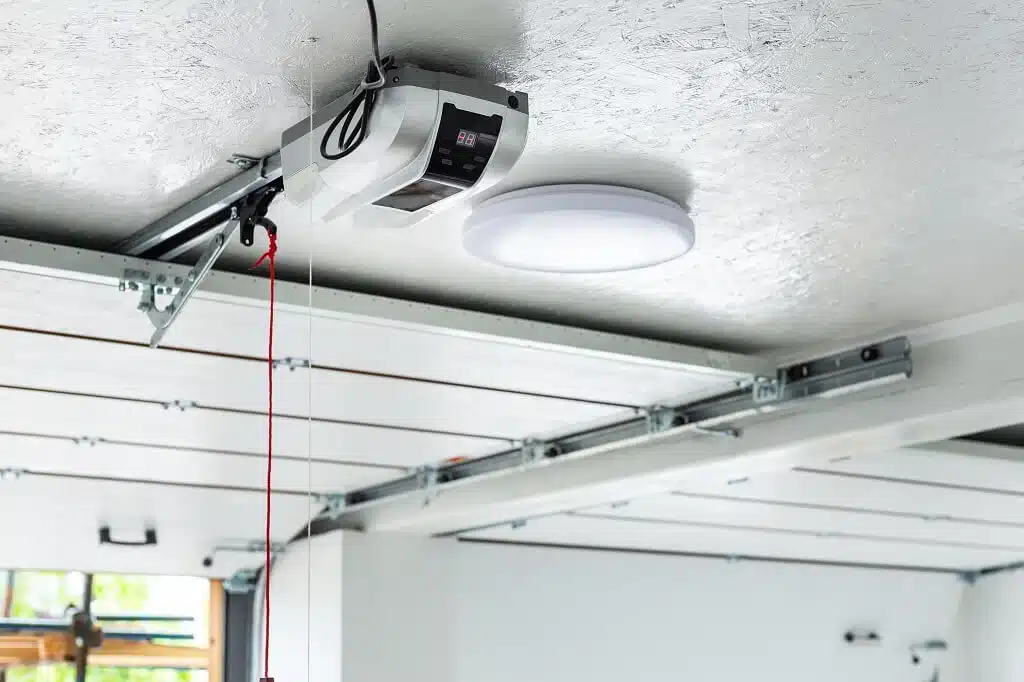
To program your Genie remote, you’ll need to locate the “Learn” button on your garage door opener. This button is typically located on the back or side of the opener unit and may be labeled as “Learn,” “Program,” or have a similar icon.
If you’re having trouble finding the “Learn” button, refer to your garage door opener’s user manual for its exact location and appearance. Some models may require you to remove a cover or panel to access the button.
Once you’ve located the “Learn” button, make sure you have easy access to it, as you’ll need to press it during the programming process.
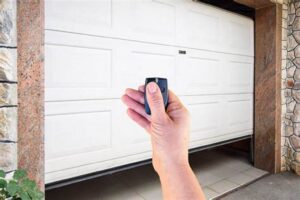
Step 3: Programming the Genie remote using the “Learn” button
With the Genie remote cleared and the “Learn” button on your garage door opener identified, you’re now ready to begin the programming process. Follow these steps carefully:
- Press and release the “Learn” button on your garage door opener. This will typically cause an LED light or indicator to start flashing, signaling that the opener is in programming mode.
- Within 30 seconds (or the time specified in your user manual), press and hold the “Program” or “Learn” button on your Genie remote until the LED light on the remote starts flashing rapidly.
- While the LED on the remote is flashing, press and release the desired button on the remote that you want to use for opening and closing the garage door (typically the “Open/Close” button).
- If the programming is successful, the LED light on the garage door opener will stop flashing, and your Genie remote should now be programmed to operate your garage door.
Step 4: Testing The Programmed Remote And Troubleshooting Common Issues
After successfully programming your Genie remote, it’s essential to test its functionality and ensure it’s working correctly with your garage door opener. Here’s how you can test the programmed remote:
- Stand a safe distance away from the garage door and press the programmed button on your Genie remote.
- The garage door should respond by opening or closing, depending on its current state.
- Repeat the process by pressing the same button again to ensure the remote can both open and close the garage door.
If the remote does not seem to be working as expected, or if you encounter any issues during the testing phase, here are some common troubleshooting steps you can try:
- Replace the batteries in your Genie remote with fresh ones.
- Ensure there are no obstructions or interference between the remote and the garage door opener.
- Check the distance between the remote and the opener, and try moving closer or farther away to find the optimal range.
- Repeat the programming process, carefully following each step and ensuring the LED lights respond as expected.
- Consult your user manual for any additional troubleshooting tips or contact Genie customer support for further assistance.
Tips And Tricks For Programming Your Genie Remote
While the basic programming process is straightforward, there are a few additional tips and tricks that can enhance your experience and ensure optimal performance:
Programming multiple remotes
If you have more than one Genie remote, you can program them all to work with your garage door opener by repeating the programming process for each remote.
Setting up a temporary PIN code
Some Genie garage door openers allow you to set up a temporary PIN code for added security. This feature can be useful when you have guests or service providers who need temporary access to your garage.
Adjusting the remote’s range
Depending on your specific setup and environment, you may need to adjust the remote’s range to ensure reliable operation. Consult your user manual for instructions on how to adjust the range if needed.
Enabling or disabling additional features
Many Genie remotes and garage door openers come with additional features such as vacation mode, courtesy light control, or automatic closing. Explore these features in your user manual and enable or disable them according to your preferences.
Updating firmware
Genie occasionally releases firmware updates for their products to improve performance, add new features, or address security vulnerabilities. Check with the manufacturer or their website for any available updates and follow the instructions to ensure your system is up-to-date.
FAQ About Programming A Genie Remote For A Garage Door
Even after following the step-by-step guide, you may still have some lingering questions or concerns. Here are some frequently asked questions (FAQs) about programming a Genie remote for a garage door, along with their answers:
Can I program my Genie remote to work with a non-Genie garage door opener?
While Genie remotes are primarily designed to work with Genie garage door openers, some models may be compatible with other brands. However, it’s essential to consult your specific remote’s user manual or contact the manufacturer for compatibility information.
What should I do if my Genie remote stops working after programming?
If your Genie remote stops working after programming, try clearing the existing codes and reprogramming it from scratch. If the issue persists, check the batteries, ensure there are no obstructions, and consult your user manual or contact Genie customer support for further assistance with your garage door repair.
Can I program my Genie remote to control multiple garage doors?
Yes, many Genie remotes can be programmed to control multiple garage doors. The process typically involves programming the remote for each garage door opener separately.
How do I know if my Genie remote needs to be reprogrammed?
If your Genie remote is not responding or seems to be malfunctioning, it may need to be reprogrammed. Additionally, if you’ve replaced your garage door opener or moved to a new location, reprogramming the remote is necessary.
Can I program my Genie remote from outside my garage?
While it’s possible to program your Genie remote from outside your garage, it’s generally recommended to do so within close proximity to the garage door opener for optimal signal strength and reliability.
Conclusion
You’ve now mastered the art of programming your Genie remote for your garage door. By following this comprehensive guide, you’ve not only gained the knowledge and skills to program your remote but also gained a deeper understanding of the features and functionality offered by Genie products.
With your newly programmed Genie remote, you can enjoy the convenience of effortlessly opening and closing your new garage door with just a press of a button. No more fumbling with keys or manually operating the door – your Genie remote puts control and security at your fingertips.
Remember, proper maintenance and periodic reprogramming may be necessary to ensure your Genie remote continues to function optimally. Don’t hesitate to refer back to this guide or consult your user manual if you ever need a refresher on the programming process.
If you’re looking to enhance your home’s security and convenience even further, consider exploring our range of smart home solutions, including advanced garage door openers, security systems, and home automation products. Visit our website or contact us today to learn more about how we can help you create a safer, smarter, and more efficient living environment.
We’re your go-to experts for all things related to garage door repair in Kansas City. Visit our website or reach out to us today to learn more!
End Note
Thank you for taking the time to read our blog! At Team Taylor Doors, we are dedicated to providing top-notch garage door services that cater to your every need. Whether you require a new garage door installation, expert repairs, or simply want to explore our extensive gallery of completed projects, our experienced team is here to ensure your garage door is both functional and stylish.
Discover the wide range of services we offer by visiting our website and Service Areas page. For inspiration and to see our quality work firsthand, check out our Gallery. Stay informed with the latest tips, updates, and customer success stories by following our Blog.
Connect with us on social media for even more updates and insights! Follow us on Facebook, Instagram, and YouTube to join our community and see how we can make a difference for your garage door needs.
Ready to enhance your garage door experience? Visit our Contact Us page to schedule an appointment or request a free quote.
At Team Taylor Doors, we are committed to delivering exceptional service and ensuring your garage door operates smoothly and efficiently. Trust us for all your garage door needs and experience the Team Taylor Doors difference!